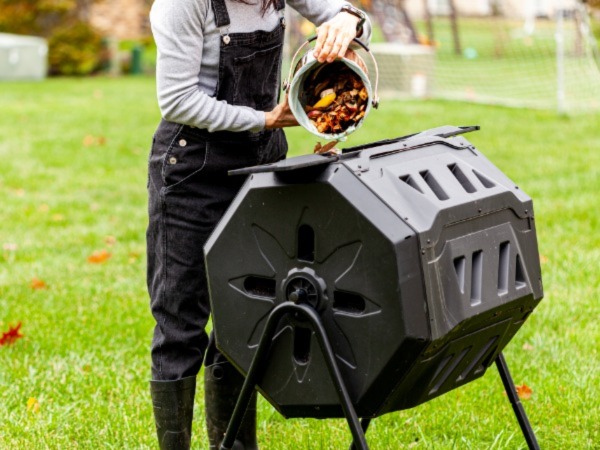
In a recent post, we shared Leaves are turning brown, but keep your habits green. One way to “be green” with your leaf management is to compost your leaves. But perhaps you’ve never given composing a try. This is the year! Here’s how to get started.
The ingredients you need to make your own compost are readily available — “green” and “brown” organic waste, water, and air. By mixing these ingredients and giving them time to cook, you’ll produce a nutritious amendment for your soil. Follow these steps to create your own compost.

Ten easy steps to composting success
- Choose a level area in your yard. You don’t want your compost bin to be in the way, but you don’t want it too far away from your source of organic material, either. You’ll need at least a 3 by 5-foot area to give your bin room to breathe and yourself room to work.
- Select a spot that is out of direct sunlight most of the day.
- Make sure that you have access to water nearby and a hose that will reach the spot.
- Build your own bin or purchase a commercial compost bin. The size and type will depend on how much organic material you have available and how fast you want your compost to cook.
- Mix “brown” yard waste, such as dry leaves and dead plants, with “green” organic waste, such as grass clippings and fruit and vegetable scraps. You’ll want about half “green” and half “brown” materials. Coffee grounds and tea leaves are also good “green” organic material (even though they are colored brown); coffee grounds are a source of nitrogen, as are other “greens.” Mix the material as you fill your compost bin. Be sure that fruit and vegetable scraps are at least 10 inches below the surface of your pile — this will keep unwanted animal visitors away. (Don’t put any meats or dairy products in a backyard compost bin or pile.)
- Chop larger waste, such as twigs, into pieces smaller than 12 inches long. You can chop this material manually using trimmers or loppers, or you can run twigs and branches through a chipper/shredder. (You could share a chipper/shredder with your neighbors or rent one.) Chopping this woody waste will help it become compost more quickly.
- Turn or stir the compost at least every other week. Use a pitchfork, a shovel, or a compost-turner. Be sure that the material is thoroughly mixed each time you turn it. The more often you turn your pile, the more quickly your material will decompose.
- Add water if your pile becomes dry. Mix the water evenly through the material. During most weather conditions, your pile should be moist but not soaking wet. If your pile becomes soggy during wet weather, turn and mix the material to add air and help dry it out. A tarp can help keep your composting materials from getting too wet during heavy rains.
- Give your compost up to six months to cook and cure. For faster compost, turn the pile more often. For $10-20, you can fine-tune your technique using a compost thermometer. With a probe about 20 inches long, a simple compost thermometer allows you to monitor the internal temperature of the pile. If you keep that temperature between 120 and 140 degrees Fahrenheit, your compost can be ready in just two to three months. When the waste has become dark and crumbly, you have compost!
- Spread the compost as mulch around trees or under bushes, mix it into your garden soil, or combine it with soil or sand to make great potting soil.
DO compost these materials:
•Grass clippings
•Twigs and leaves
•Coffee grounds and filters
•Tea leaves and bags
•Eggshells
•Fruit and vegetable scraps
•Shredded newspaper
•Dryer lint
•Nutshells
•Stale bread
DON’T put these in the pile:
•Diseased plants
•Weeds that have gone to seed
•Plants that are spread by runners, such as Morning Glory or Buttercup
•Pet or human waste
•Chemically treated wood products
•Glossy or coated papers
•Ashes
•Scraps and bones from meat and fish
•Oils and other fatty food products
•Milk or dairy products
Want to read further? Check out the EPA’s Composting at Home.
Credit: Grandbrothers| iStock | Getty Images Plus
